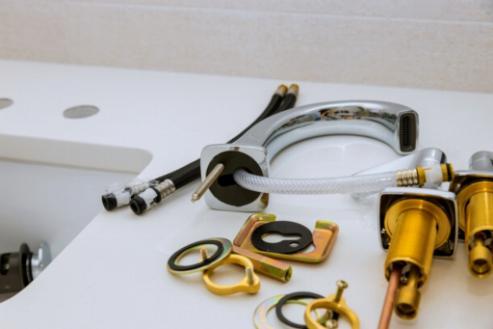
Toilet repair may seem like a daunting task, but with the right tools and a step-by-step guide, it can be a manageable DIY project for beginners. By understanding the common issues that may arise with a toilet and following the correct procedures for removal, fixing the flange and wax ring, and reinstalling the toilet, you can successfully tackle this home maintenance task. In this article, we will provide a beginner's guide to step-by-step toilet repair to help you solve common toilet issues and ensure your bathroom fixtures are functioning properly.

Tools and Materials Needed for Toilet Repair
When it comes to tackling a toilet repair project, having the right tools and materials on hand is essential for a successful outcome. Here are the basic items you will need for most toilet repair jobs:
1. Plunger
2. Adjustable wrench
3. Screwdriver
4. Putty knife
5. Pipe wrench
6. Bucket
7. Replacement flapper
8. Replacement fill valve
9. Replacement wax ring
10. Teflon tape
11. Closet bolts
12. Toilet bowl cleaner
13. Rubber gloves
14. Safety goggles
Having these tools and materials readily available will ensure that you can address common toilet issues effectively and efficiently.
Understanding Common Toilet Issues
Some of the most frequent problems with toilets include clogs, leaks, running water, and flushing issues. By identifying the specific issue with your toilet, you'll be better equipped to address the problem and make the necessary repairs.
Steps for Removing the Toilet
The first step in removing a toilet is to turn off the water supply to the toilet. This can usually be done by turning the shut-off valve located behind the toilet.
Next, flush the toilet to empty the tank and bowl. Use a sponge or towel to remove any remaining water from the bowl and tank.
Disconnect the water supply line from the toilet tank and then remove the bolts at the base of the toilet that secure it to the floor. Use a wrench to loosen the nuts, and then carefully lift the toilet up and off the floor. Be sure to have a friend help with this step, as toilets can be heavy and awkward to handle on your own.
Once the toilet is lifted, you will need to remove the old wax ring from the flange and inspect the flange for any damage. If the flange is damaged, it will need to be replaced before reinstalling the toilet.
With the toilet removed, you can also take the opportunity to inspect the floor and surrounding area for any signs of water damage or mold. If any issues are found, they will need to be addressed before reinstalling the toilet.
Removing a toilet may seem like a daunting task, but with the right tools and knowledge, it can be easily accomplished by even the most novice DIY enthusiast.
Fixing the Flange and Wax Ring
The flange is the circular piece that connects the toilet to the floor, and the wax ring creates a seal between the toilet and the plumbing pipe. If either of these components is damaged or not installed properly, it can lead to leaks and other issues. When fixing the flange and wax ring, it's important to ensure that they are both in good condition and properly aligned to create a watertight seal.
Reinstalling the Toilet
Start by carefully lifting the toilet and aligning the holes at the base of the toilet with the bolts on the flange. Gently lower the toilet onto the flange, making sure it is positioned correctly.
Next, you'll need to secure the toilet in place. Use a wrench to tighten the nuts onto the bolts, being careful not to overtighten and crack the porcelain. Once the toilet is securely in place, you can reattach the water supply line and turn the water back on.
After the water is turned on, carefully inspect the base of the toilet for any leaks. If everything looks good, you can go ahead and caulk around the base of the toilet to provide a seal and prevent any water from seeping underneath.
Finally, give the toilet a test flush to ensure everything is in working order. If the toilet flushes properly and there are no leaks, you have successfully reinstalled your toilet. Congratulations on completing the repair!
Testing the Toilet and Final Touches
Once you have reinstalled the toilet and made all necessary repairs, it is important to thoroughly test the toilet to ensure that the issue has been successfully resolved.
First, turn the water supply back on and allow the tank to fill up. Once the tank is full, flush the toilet several times to check for any leaks or unusual sounds.
Next, inspect the base of the toilet for any signs of water or moisture. If there are no leaks, carefully inspect the area around the flange and wax ring for any signs of water.
If everything looks good so far, take a moment to ensure that the toilet is securely fastened to the floor. Gently rock the toilet from side to side to check for any movement. If the toilet feels secure, you can proceed to the final touches.
Finally, give the toilet a good cleaning and make any cosmetic repairs as needed. This may include re-caulking around the base of the toilet or touching up any paint that was disturbed during the repair process.
Once you have completed these final steps, your toilet repair project should be complete, and you can rest easy knowing that your toilet is in good working order.
