How to Safely and Successfully Repair Shower and Bathtub Plumbing
22 March 2025 by Billie O.When it comes to maintaining a modern home, understanding and being able to make plumbing repairs to your shower and bathtub can save you time and money. Whether you're dealing with a leaky faucet or a clogged drain, knowing how to safely and successfully fix these issues is essential. In this article, we will cover the basics of shower and bathtub plumbing systems, as well as provide a step-by-step guide to preparing for and making common repairs. By the end, you'll be equipped with the knowledge and skills to maintain your bathtub and shower effectively.

Understanding Shower and Bathtub Plumbing Systems
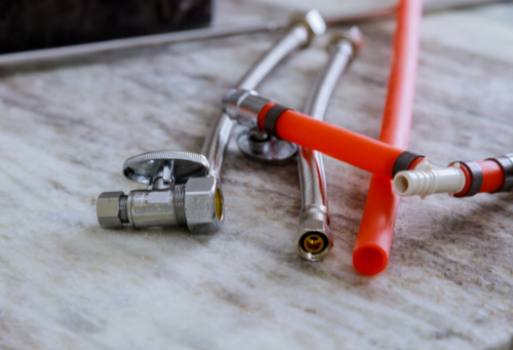
In most modern homes, the plumbing for showers and bathtubs consists of a network of pipes and valves that work together to deliver water to the fixtures and drain it away once it has been used. The main components of a shower and bathtub plumbing system include hot and cold water supply lines, a mixing valve or diverter to regulate water temperature, a showerhead or bathtub faucet, and a drain system to remove wastewater. Understanding how these components work together will allow you to better diagnose and repair any issues that may arise. Additionally, it's important to be aware of the different types of plumbing systems that may be present in your home, such as copper, PVC, or PEX piping. Each type of piping has its own unique characteristics and requires specific tools and techniques for repair. By familiarizing yourself with the basic principles of shower and bathtub plumbing systems, you will be better equipped to tackle any repairs that may be necessary, and ensure the safety and functionality of your plumbing fixtures.Preparing for Plumbing Repairs
Start by turning off the water supply to the shower or bathtub. This may involve shutting off the main water valve to your home or using a shut-off valve specific to the bathroom. It's crucial to prevent any water from flowing while you work to avoid potential flooding or accidents. Next, clear out the area around the shower or bathtub to provide yourself with ample space to work. Remove any bath products, towels, or shower curtains that may get in the way. It's also a good idea to lay down towels or a tarp to protect the floor from any potential water or debris. Lastly, take the time to familiarize yourself with the layout of the plumbing system in your shower or bathtub. This can help you understand how the components are connected and identify any potential issues. If you're unsure about the layout or how to approach the repairs, don't hesitate to consult a professional for guidance. Proper preparation is key to ensuring a successful and safe plumbing repair project.Tools and Materials for Plumbing Repairs
When tackling plumbing repairs in your shower or bathtub, having the right tools and materials is essential for a successful project. Some basic tools you will need include an adjustable wrench, screwdriver, pipe wrench, and plumber's tape. For materials, you'll want to have replacement washers, O-rings, and cartridges on hand, as well as pipe sealant and silicone caulk for sealing any connections. Additionally, having a plumbing snake or auger can be helpful for clearing any clogs in the drain. Make sure to have these tools and materials ready before starting your plumbing repairs to ensure a smooth and efficient process.Steps for Repairing Bathtub Faucets
Repairing bathtub faucets can be a common DIY project for many homeowners. Whether you're dealing with a leaky faucet, a broken handle, or other issues, it's important to follow the proper steps to ensure a safe and successful repair. Here are some key steps for repairing bathtub faucets:1. Turn off the water supply: Before you begin any plumbing repairs, it's important to turn off the water supply to the bathtub. This will prevent any accidental leaks or water damage while you work on the faucet.
2. Remove the faucet handle: Use a screwdriver or an Allen wrench to remove the handle of the bathtub faucet. This will give you access to the inner components of the faucet.
3. Inspect the cartridge or stem: Once you've removed the faucet handle, inspect the cartridge or stem for any damage or wear. This is often the cause of leaking or dripping faucets.
4. Replace the cartridge or stem: If you find that the cartridge or stem is damaged, it will need to be replaced. You can usually find replacement parts at your local hardware store or home improvement center.
5. Clean and lubricate the components: Before reassembling the faucet, make sure to clean any debris or mineral buildup from the components. You can also apply a small amount of plumber's grease to help lubricate the parts and prevent future issues.
6. Reassemble the faucet: Once you've replaced the cartridge or stem and cleaned the components, carefully reassemble the faucet handle and any other parts that were removed.
7. Turn on the water supply: Once you've completed the repairs and reassembled the faucet, turn the water supply back on and test the faucet to ensure that it's working properly. By following these steps, you can safely and successfully repair your bathtub faucet and keep your plumbing system in good working order. If you're unsure about any of the steps or encounter any difficulties, don't hesitate to consult a professional plumber for assistance.